Capture old-school LoFi vibes! Learn how to recreate the trendy, oh-so-cool look of Mini DV footage in After Effects.
Just like the VHS look, another retro look is becoming trendy: Mini DV. More and more creatives are starting to utilize the look and feel of Mini DV footage, often referred to as “LoFi.”
In this step-by-step video tutorial, we’ll show you how to recreate the look of Mini DV footage in After Effects!
Creating the Appearance of Mini DV Footage
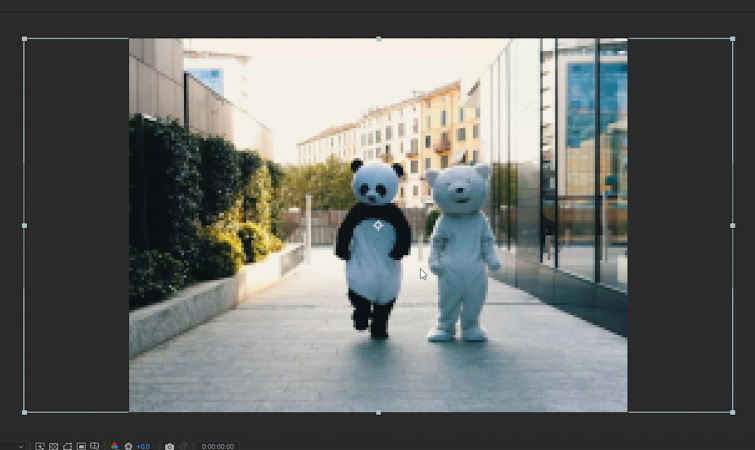
First, create a new composition named Mini DV Comp. Set the composition size to 200 px x 150 px; this will give you a 4:3 aspect ratio. Now, add your footage into the composition.
You’ll need to scale your footage down to fit. An easy way to do this is by selecting your footage and navigating to Layer>Transform>Fit to Comp Height. This will automatically scale your footage down to the correct size.
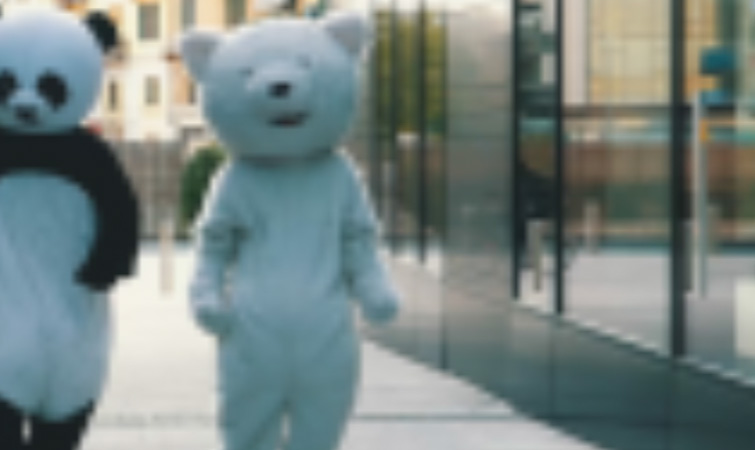
At this point, you’ll notice your footage looks extremely pixelated. This is okay, because we’re going to scale it up in the next step.

Now, create a new composition named Main Comp. Set the composition size to 1920px x 1080px. Add the Mini DV Comp into your Main Comp.
Now, we need to scale the Mini DV Comp up to match the size of the Main Comp. Select the Mini DV Comp and, once again, navigate to Layer>Transform>Fit to Comp Height. This will scale the Mini DV Comp up to the correct size.
Your footage should now appear to have many of the characteristics of Mini DV footage, which includes lots of aliasing. This can be seen in the “stair-stepping” artifact that is visible on horizontal lines.
You’ll also notice a lot of flickering on edges, as well.

Enhancing the Mini DV Look
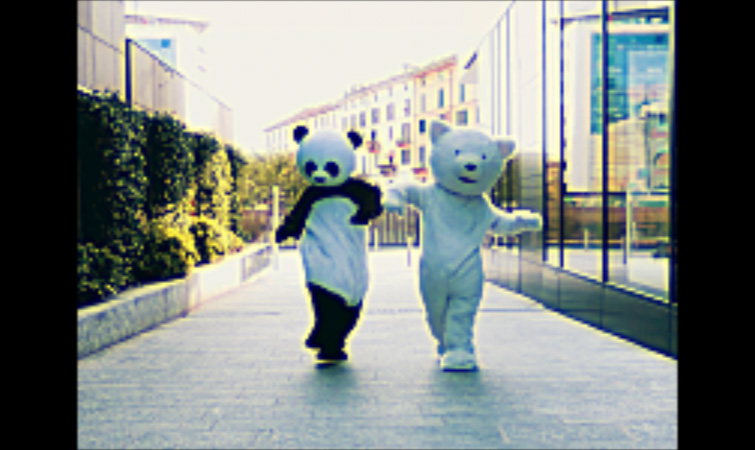
Now that your footage looks like it was filmed with a Mini DV camera, we can exaggerate the look to appear more “nostalgic” and similar to Mini DV footage from the ’90s.
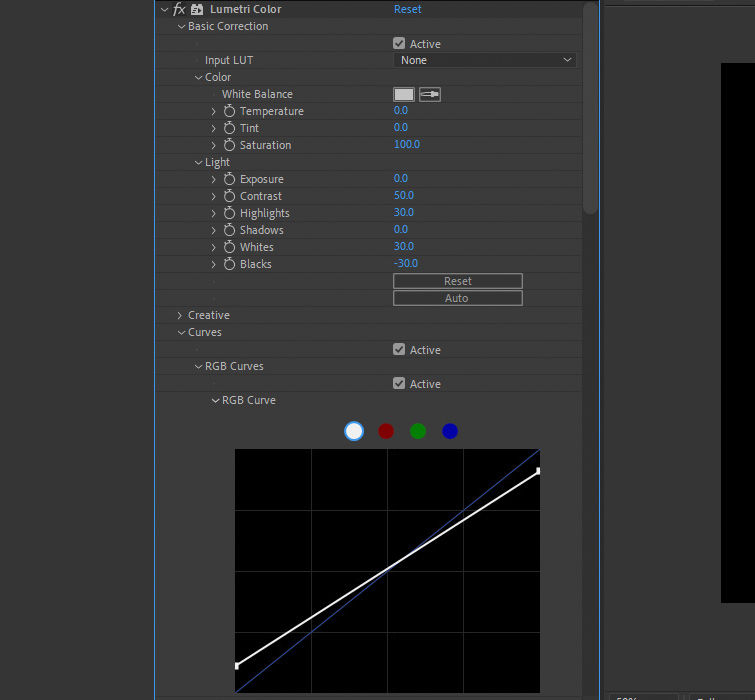
In the Main Comp, select the Mini DV Comp and apply the Lumetri Color effect. You’ll want to make the footage look contrasty, almost harsh.
Set the Contrast to 50, the Highlights to 30, the Whites to 30, and the Blacks to -30. You can also dial back the White and Black range by adjusting the White and Black Points on the RGB Curve.

Now, to add some color fringing to your footage, apply the Channel Blur effect. Then just set the Blue Blurriness value to 3. This will add a vintage-looking color fringe all over your footage.

Finally, apply the Unsharp Mask effect. Using this effect, we can punch up the harsh edging and aliasing on the footage.
Set the Amount to 150, and set the Radius to 2. You can adjust these values to taste, depending on your footage, as this will add even more contrast and haloing to your footage.

That’s it! If you want to see what the Mini DV look would look like on another clip, just swap it with the original footage in your Mini DV Comp!
Want to Create Even More Retro Looks?
If you’re interested in creating even more retro-inspired looks, check out our tutorial How to Create the VHS Look in Premiere Pro. The tutorial includes a free VHS preset (plus a few more free assets).
Interested in the royalty-free tracks we used to make the top video? Give them another listen:
- “Ice Tea” by Mountaineer
- “A Chill Rain” by Luciano Music Co.
- “Behind Neon Sky” by Artlss
- “Gelato” by Sunny Tones


